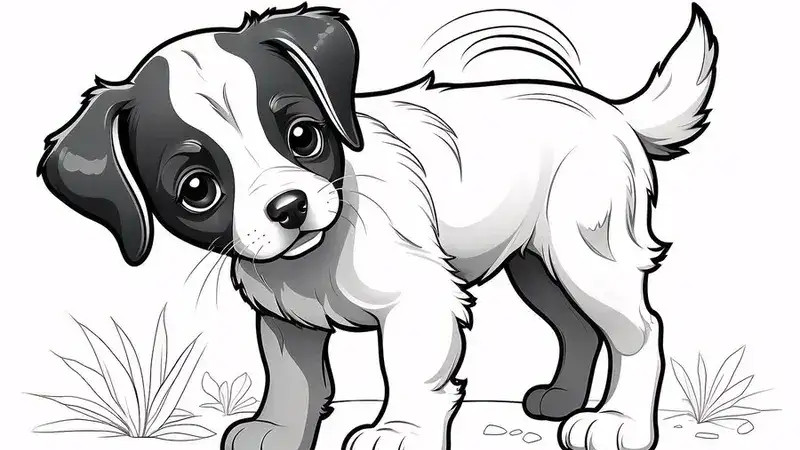
Drawing:iek1gnzs5p4= Dog can be a rewarding and creative experience. Whether you’re a beginner or an experienced artist, mastering the art of dog drawing involves understanding basic techniques and applying them effectively. In this article, we will guide you through the process of Drawing:iek1gnzs5p4= Dog, from understanding its anatomy to adding the final touches. By following these steps, you’ll be able to create a realistic and appealing dog drawing.
Understanding Dog Anatomy
To Drawing:iek1gnzs5p4= Dog accurately, you need to understand its anatomy. Dogs have a unique skeletal structure that influences their posture and movement. Here are some key points to consider:
- Head Structure: The dog’s head is generally round or oval. Pay attention to the shape of the head, as different breeds have different head shapes.
- Body Proportions: The body of a dog is elongated with a distinct ribcage. The length of the body usually measures about 1.5 times the height of the dog.
- Legs and Joints: Dogs have four legs with distinct joints. The front legs have shoulders and elbows, while the hind legs have hips and knees. The way the legs bend affects the dog’s stance and movement.
- Tail: The tail varies in length and shape depending on the breed. It can be straight, curved, or even docked.
Understanding these basic anatomical features will help you create a more accurate and proportionate Drawing:iek1gnzs5p4= Dog.
Selecting the Right Drawing Tools
Choosing the appropriate tools is crucial for achieving the best results. Here’s a list of recommended tools for Drawing:iek1gnzs5p4= Dog:
- Pencils: Use a range of graphite pencils for different effects. For initial sketches, a harder pencil like H or 2H works well. For details and shading, softer pencils like B or 2B are ideal.
- Erasers: A kneaded eraser is useful for lightening areas and creating highlights. A precision eraser helps with detailed corrections.
- Paper: Choose smooth drawing paper for detailed work. If you prefer texture, a slightly textured paper can add a unique touch to your drawing.
- Blending Tools: Blending stumps or tortillons can help smooth out shading and create a more realistic texture.
Sketching the Basic Shapes
Begin your drawing with basic shapes to outline the dog’s structure. Follow these steps:
- Draw the Head: Start with an oval or circle for the head. Position it where you want the dog’s face to be.
- Add the Body: Draw a larger oval or rectangle for the body. Connect it to the head with curved lines to outline the neck.
- Sketch the Legs: Use circles for joints and lines for the legs. Position the front legs and hind legs according to the dog’s stance.
- Include the Tail: Draw a line for the tail, ensuring it follows the natural curve or shape of the breed.
This basic framework serves as a guide for adding more detailed features.
Adding Details to Your Dog Drawing
With the basic shapes in place, start adding details to make your drawing more lifelike:
- Facial Features: Draw the eyes, nose, and mouth. Pay attention to the size and position of these features. Different breeds have different eye shapes and nose structures.
- Ears: Add the ears according to the breed. Ears can be pointed, floppy, or semi-erect.
- Fur Texture: Use short, quick strokes to represent fur. The direction of the strokes should follow the natural flow of the fur.
- Body Details: Add details such as the ribcage, muscle definition, and any distinctive markings or patterns.
Shading and Texture Techniques
Shading adds depth and dimension to your drawing. Follow these techniques for effective shading:
- Light Source: Determine the light source to know where to place shadows. Light areas will be where the light hits directly, and dark areas will be in shadow.
- Gradual Shading: Use a range of pencils to create a gradient effect. Start with light pressure for lighter areas and gradually increase pressure for darker shades.
- Blending: Use blending stumps or tissue to smooth out transitions between light and dark areas. This technique helps in creating a more realistic appearance.
- Texture: Enhance the texture of the fur by varying your pencil strokes. Cross-hatching and stippling can add interesting textures to your drawing.
Refining Your Dog Drawing
Refinement is essential to achieve a polished look:
- Erase Guidelines: Gently erase any unnecessary lines or guidelines that were used in the initial sketch.
- Check Proportions: Ensure that all parts of the dog are proportionate and correctly positioned. Make adjustments as needed.
- Add Fine Details: Enhance details like fur texture, eye highlights, and nose reflections. These small touches can make a significant difference.
- Review and Adjust: Step back from your drawing and review it as a whole. Make any final adjustments to improve the overall appearance.
Final Touches and Review
Complete your drawing with these final touches:
- Highlights: Add highlights to the eyes and nose to give them a realistic shine. Use a white pencil or an eraser for this purpose.
- Enhance Shadows: Darken areas that require more depth. This adds contrast and makes the drawing more dynamic.
- Signature: Sign your drawing in a corner to mark your accomplishment. This adds a professional touch to your artwork.
- Presentation: Consider framing your drawing or displaying it in a portfolio. This protects your work and showcases your effort.
Conclusion
Drawing:iek1gnzs5p4= Dog involves more than just sketching. It requires an understanding of anatomy, the right tools, and attention to detail. By following the steps outlined above, you can create a realistic and captivating dog drawing. Practice regularly to enhance your skills and enjoy the process of bringing your artistic vision to life.
Drawing:iek1gnzs5p4= Dog can be a fun and rewarding challenge. Embrace the learning process, and with time and practice, your ability to draw dogs will improve. Happy drawing!